Photo walls are a trend that has taken off in the last few years. For many of us, a wall filled with pictures seems like an impossible DIY feat when you consider all the holes and nails to put in the wall, frames, measurements and arranging. For those of us who rent, this might not even be permitted…so how can you create a feature photo wall without any of this hassle?
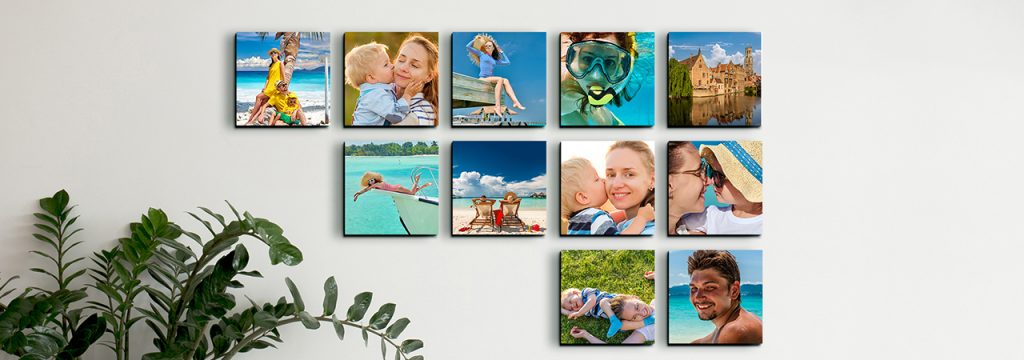
Photo tiles are your new best friend. These lightweight tiles make it easier than ever to decorate your walls!
What is a photo tile?
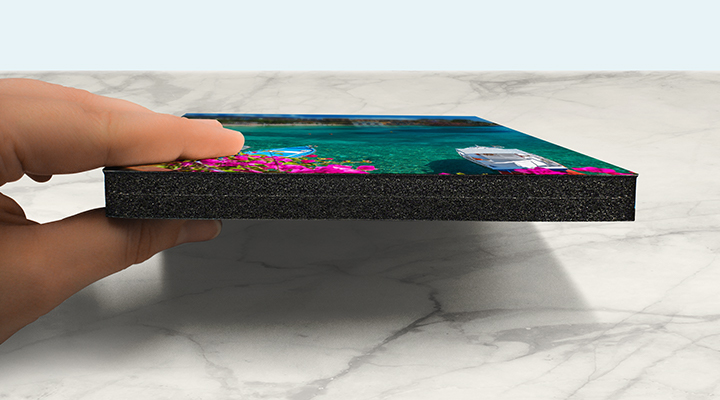
Photo tiles are a hassle-free option for decorating your walls with pictures. Your photo is printed onto a lightweight foam tile with an adhesive backing which can be stuck onto your wall with minimal effort.
Yes, that’s right, no nails required! Simply peel off the sticky back and attach them to your wall. But hang on, you ask, won’t that be stuck on my wall forever? This is where the photo tiles magic comes in. The easy stick backing is also easy to remove, leaving no mark on your wall and staying sticky enough to be stuck again.
Stuck the tile on the wrong way round? No problem, simply lift off and re-stick. Moving house? Remove the tiles in an instant without leaving a mark and re-attach to the walls of your new home.
How Do I Make a Photo Wall?
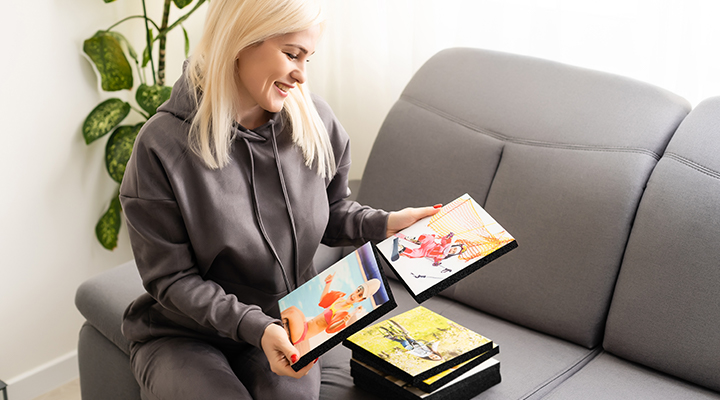
Step 1: Pick Your Photos
Plan out which pictures you want to display on your photo tile wall. Plan the composition and the theme for your photos. Picking a color scheme and making sure all your photos have the same colors is one great way to make sure your photo tile display looks great on the wall.
Another way is to pick a theme, for example, a tile for each family member, or a tile for each month of the year to display the last year’s memories on your wall.
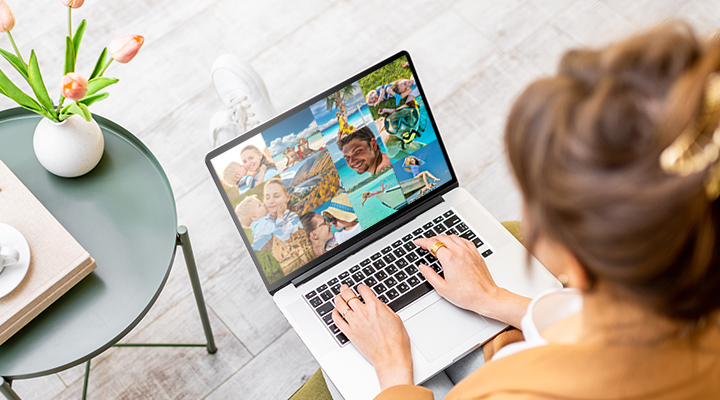
Step 2: Make Your Photo Tiles
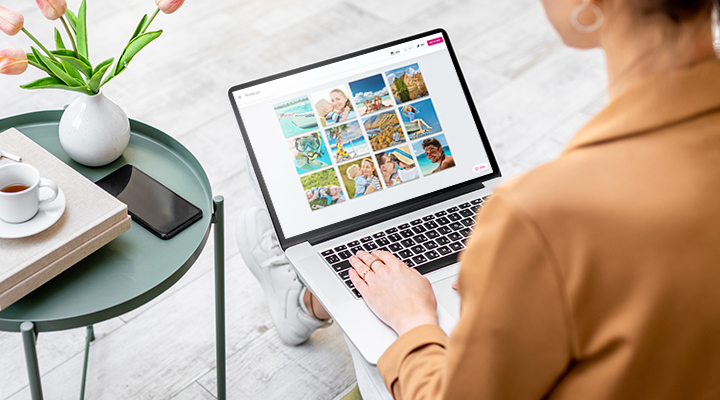
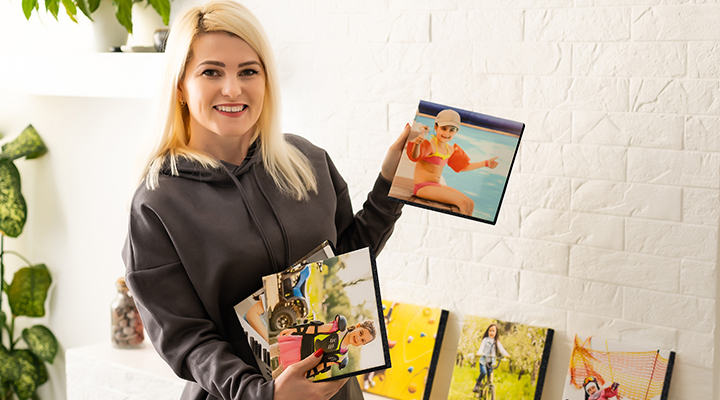
Once you’ve picked out your photos, all you need to do is create your photo tiles with Printerpix. Simply upload your photos, preview them in the creation tool, and place your order. We recommend you make at least 9 photo tiles for a good photo wall display.
Step 3: Arrange Your Photo Wall Display
Now you’ve got your photo tiles, it’s time for the fun bit! Choose how you’re going to arrange them on the wall and then put them up.
Our top tip is to lay the photo tiles out on the floor first of all until you find the layout you want. Don’t forget to consider things like spacing between tiles, where you want to put them, and at what height you want them at.
How Do I Put My Photo Tiles on the Wall?
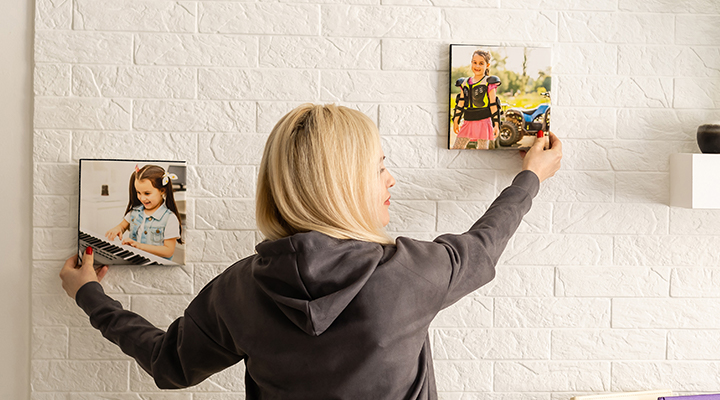
Putting your photo tiles onto your wall is easy and quick. All you need to do is peel off the adhesive strip on the back, set the tile where you want it, and firmly press it onto the wall. If you changed your mind about the position or made a mistake, then it’s easy to fix it, simply take the tile off and press it on again.
How to Remove Photo Tiles
Removing photo tiles is easy. Simply lift evenly from the bottom of the tile and pull gently to remove the tile.
Take care when sticking and removing tiles to keep the adhesive strip free from dust and dirt as this will prevent it from being able to stick.
Shop Photo Tile Offers Here >
